Batch Convert XLS to PDF on Mac - iSkysoft
• Filed to: Create PDF
Nowadays, converting your XLS documents to PDF on Mac is as easy as a breeze, thanks to the various PDF tools available. Unfortunately, most of these tools do not support batch convert XLS to PDF. Furthermore, the conversion of one file at a time consumes much time. And this makes the entire process slow. No worry! In this guide, we will show you the simpliest way to convert XLS to PDF in batch.
The Best Batch XLS to PDF Converter
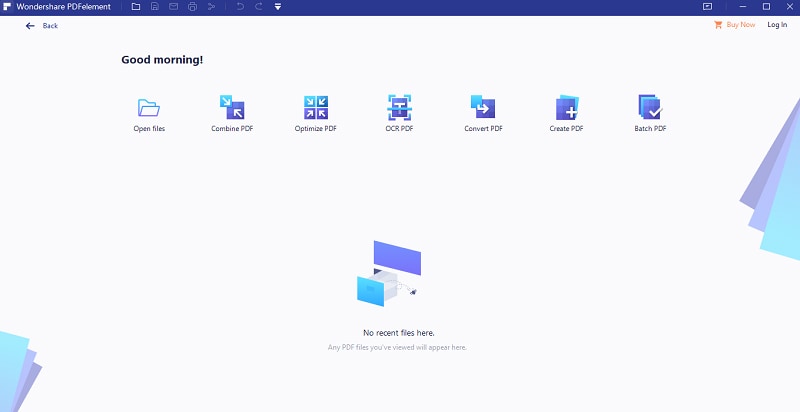
PDFelement Pro is a professional PDF converter with multiple PDF tools that make your work with PDF files easily. With the help of this smart PDF tool, you can convert XLS to PDF and create PDF files from other formats easily. Apart from this, you can also use this PDF tool to edit PDF texts, images, links etc. It also allows you convert multiple PDFs in batch and the quality will be maintained.
Key Features of This PDF Converter:
- It comes with an incredibly easy to use user interface. Just drag and drop your files to the program to start converting them- it’s that easy!
- With this program, you’ll be able to create PDF documents in high quality, plus they’ll retain the source document formatting.
- The program also lets you enjoy converting your XLS files to PDF at incredibly high speed, even when converting large and multiple files.
- Best of all, you can easily convert your XLS files to PDF in a batch. All you have to do is import multiple XLS files or folders and hit Create button for them to be output in batch at once.

How to Convert Multiple XLS to PDF on Mac
PDF creator is a truly unique PDF tool that presents you with batch conversion feature which lets you convert a batch of XLS files to PDF documents simultaneously. It lets you create PDF files from your underlying XLS files quickly. It does not require you to pre-install Office to create the PDFs. And the output PDF files are of high quality and will keep your data 100% safe. This pdf tool for Mac keeps your files private and makes them easy to share and transfer.
Step-by-step to Convert Multiple XLS to PDF
Follow the steps explained below to successfully convert all your Excel documents into PDF formats at once.
Step 1. Launch the XLS to PDF Creator
The first step involves downloading the program from the iSkysoft official site. After successful download, install it by dragging it into the Applications areas on your Mac. After installation, double-click on the program icon to launch it.

Step 2. Import XLS Files to the Program
When you start iSkysoft PDF Creator for Mac, it will directly take you to its main interface. From here, you can undertake the next step which involves importing the Excel files you wish to convert to PDF in a batch. You can do this by dragging the folder containing the files you want to convert to the main interface. Alternatively, you can click on the Add Folder button located on the top-right corner of the main program interface. You’ll be allowed to select the folder and then click Open to start the importation process.

Step 3. Start Converting XLS to PDF in Batch
Now that you have moved the files you wish to convert to PDF into the program, it’s time to convert them! Simply click the Create button located on the bottom right corner of the main interface. You’ll be asked to specify the location you want to save the output pdf file. Then click Save to initiate the conversion.


Ivan Cook
chief Editor