How to Create PDF File from Other Formats
• Filed to: Create PDF
The PDF format is one of the most popular formats because of the ease of use. When you send a file in the PDF format, you can be sure that the formatting will be preserved. Further, there is provision to password lock a PDF or encrypt it and thus the security factor stays intact. This is why a lot of people want to convert their file into PDF. In this article I will tell you how to create PDF on Mac and Windows with the best PDF creator.
Part 1. Best PDF Creator that You Can't Miss
PDFelement for Mac - The Best Way to Create PDF
There are plenty of PDF file creators which promise to help you convert plenty of file formats to PDF; however, the ease of use and robustness offered by PDFelement makes it stand out.
- It is supported on a lot of different operating systems including Windows and Mac.
- It can create PDF files from varying formats which includes: MS Word, PowerPoint, Excel, Text, HTML, EPUB, Images and more.
- Easily edit your pdf files like you work on MS Word.
- You can add markup and annotations to your pdf files.
- It offers you the provision to batch convert your file.
- You can split, merge or even combine different pdf files.
- You can add password to your pdf files and even encrypt it.
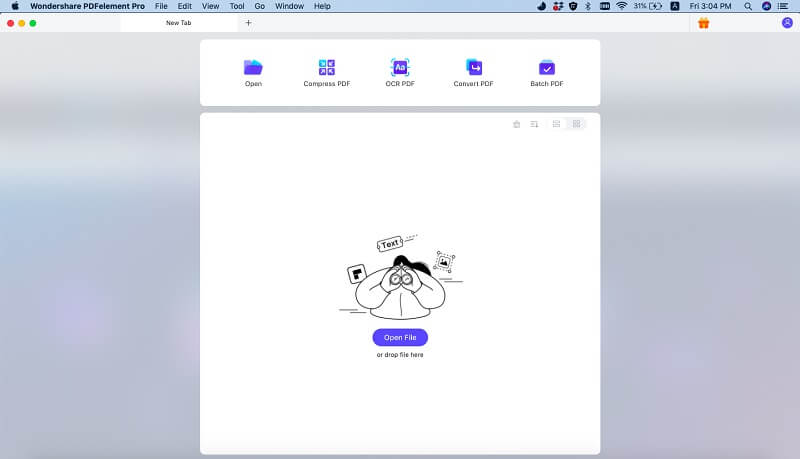
How to Create an Editable PDF on Mac
These are some of the main features and benefits which this software has to offer. Now let us see how to create PDF files from different file formats.
Step 1. Load PDF to the Program
Launch the PDFelement Professional for Mac on your system after having downloaded it. In the main application window, click on the "Create PDF" tab. A new dialog box will pop up and then you need to move to the folder where your input file is stored. Click on "Open" for loading the file on your system. This will import the file on your software.
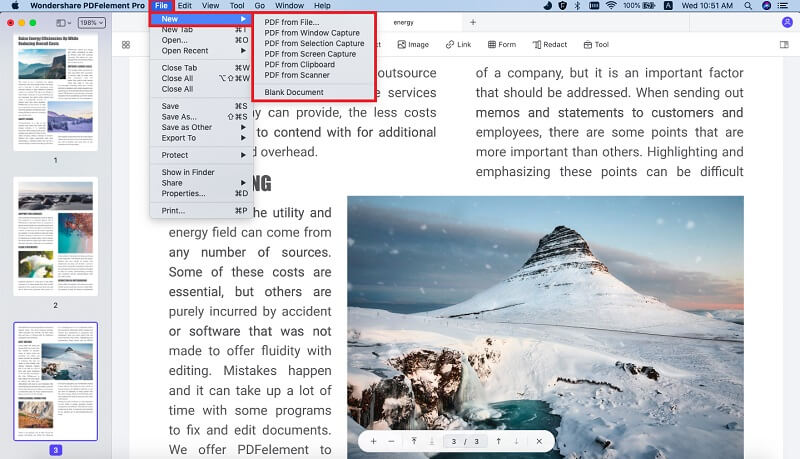
Step 2. Edit Your File (Optional)
In order to edit the file before you finally save it to PDF, you can move to the Edit button. Under the "Edit" option, you can click the different toolbars like "Add Text". Simply double click the parts which you want to edit and make the modifications. To annotate PDF, you can find corresponding options under the "Markup" button.
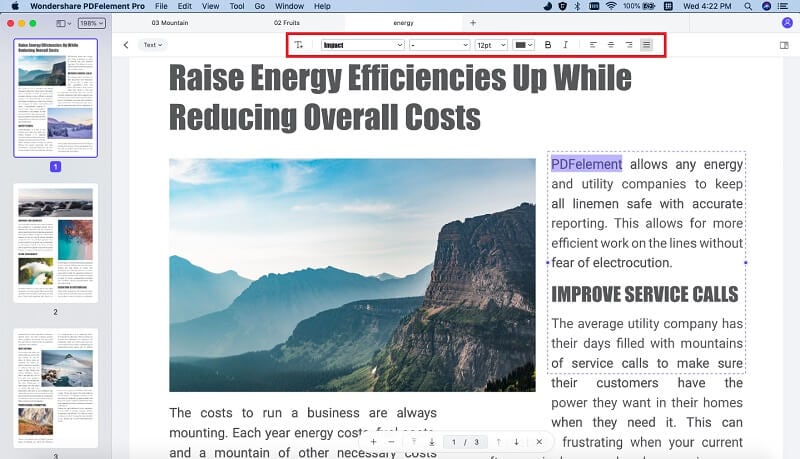
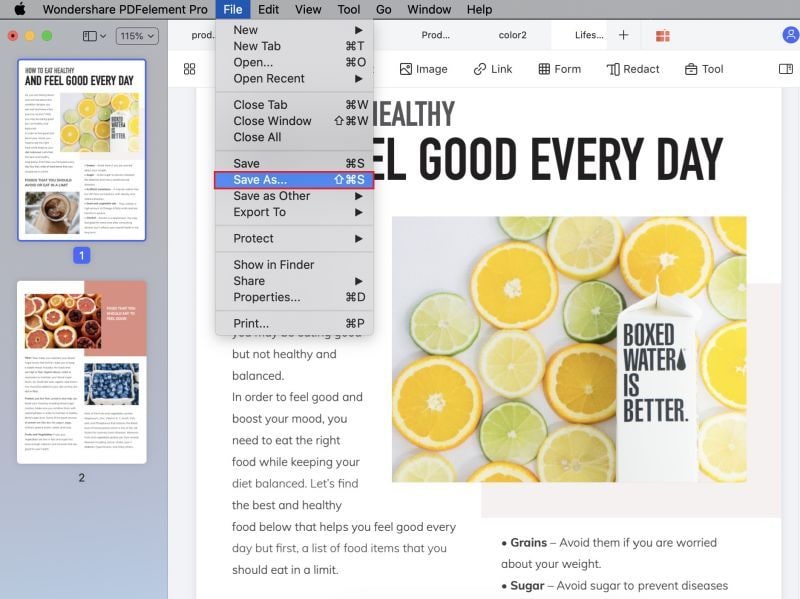
Step 3. Save to a PDF File
Move to the "File" option and choose "Save As" in the dropdown. In the new dialog box that opens, simply enter PDF as format and name your file. Hit "Save".
Part 2. How to Create a PDF Document on Windows (Windows 10 Included)
When you have a Windows PC where you need to convert your files to PDF format, the PDFelement Pro is available. Here are the steps which you need to follow.
Step 1. Add Your File to the Program
Launch the PDFelement Professional for Windows. In the application window, you will find an option called "Create PDF". Hit it and then a dialog box will open which will prompt you to select the file which you desire to convert. Click on "Open" after having navigated to the desired folder.

Step 2. Modify Your Document (Optional)
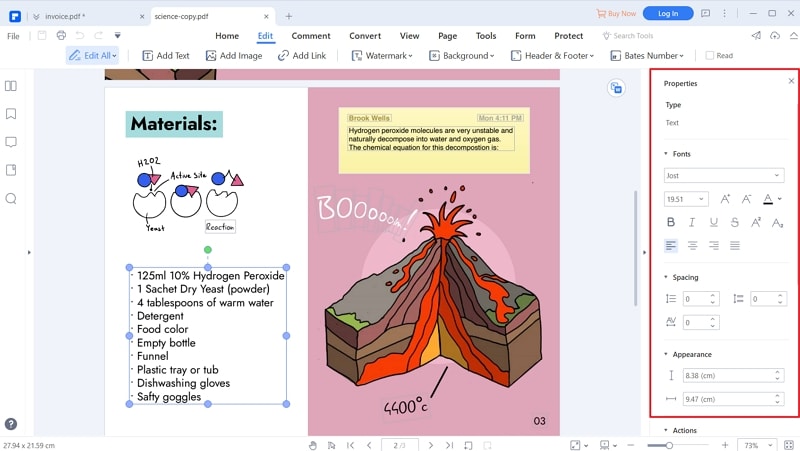
When the file has been imported, the next step is to make modifications to the file, as needed. You need to hover to the "Edit" tab and click it. This will open the editing mode. Double click any area which you need to modify and then add text, delete it or even alter attributes of images as well.
Step 3. Create a PDF Document
When you are done with the editing work and you have the final file which you need to convert, move to File and then choose "Save As" from the list.
In the dialog box that opens, choose PDF as the output format and name your file as well. Choose a destination folder where you want to save your pdf. Then click "Save" to confirm your choice.


Ivan Cook
chief Editor