How to Compress Image in PDF to Reduce File Size
Do you have a need to compress images in your PDF files? There are a lot of programs out there that promises to be able to do that. However, you will find that most of these programs will compress your files at the cost of the quality of your document. For example, if the document you were hoping to compress had high definition photos, you’ll notice an obvious lacking in photo clarity. In some cases, it might even cut some parts of the actual document! This is not good, especially if you’re looking for something quick and simple that you can send and or store at a more reasonable file size.
How to Compress Image in PDF
If this is something you would like to be able to do without running into any risks that come along with some programs. I would suggest using a product called PDFelement Pro for Mac (or PDFelement Pro for Windows). This product is able to compress images in PDF without any problems whatsoever. They offer a free trial, which is good, just in case you want to try it out yourself before making any commitments. It is available in both of the standard platforms, Mac and Windows. With this program, you can edit PDF documents in a variety of ways. And lossless image compression in PDF files will be easier with this PDF editor.
To compress image PDF is something easy and quick, all you need to do is follow these four steps:
Steps to Compress Images in PDF
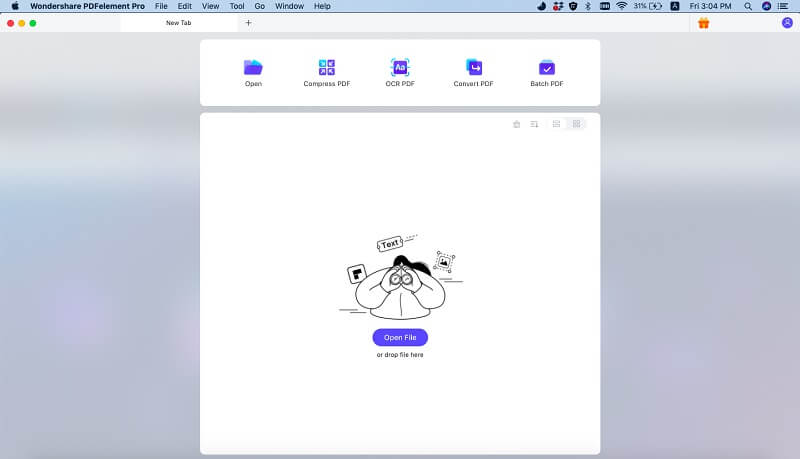
Step 1. Download and start PDFelement Pro image compressor
To start off, you’re going to have to download PDFelement Pro from their website. This part of the process is hassle free. All that you will need is download the installer and let it run. After a few minutes you should be ready to edit and or compress whatever PDF you need, the installer will launch the program for you, but you can also click on the desktop shortcut for later.

Step 2. Import image PDF to the program
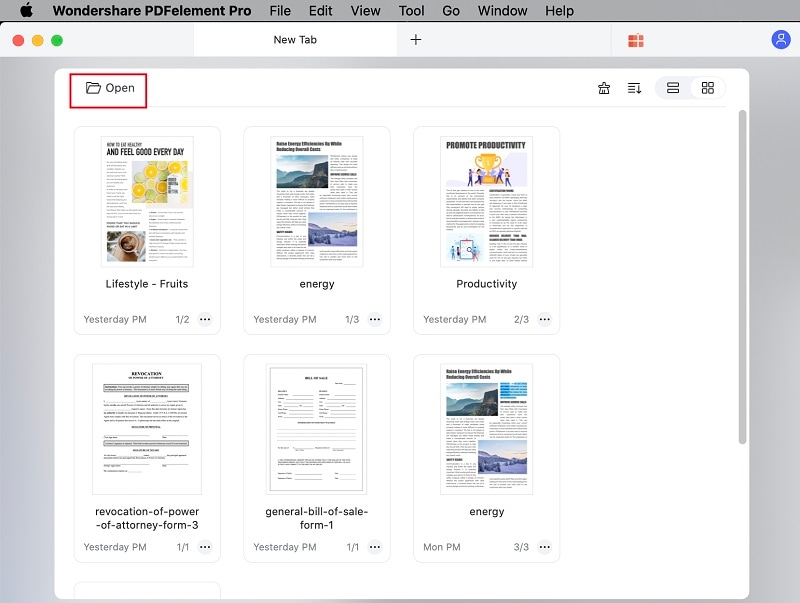
In order to import your image PDF into the program, click the "Open File…" button you see on the bottom left of the startup screen. Hopefully you remember the folder you had saved the file in, because a windows pop-up will appear and prompt you to locate the file. Once you’ve found it, highlight the PDF and press "Open." You are now ready for the next step.

Step 3. Edit image in PDF
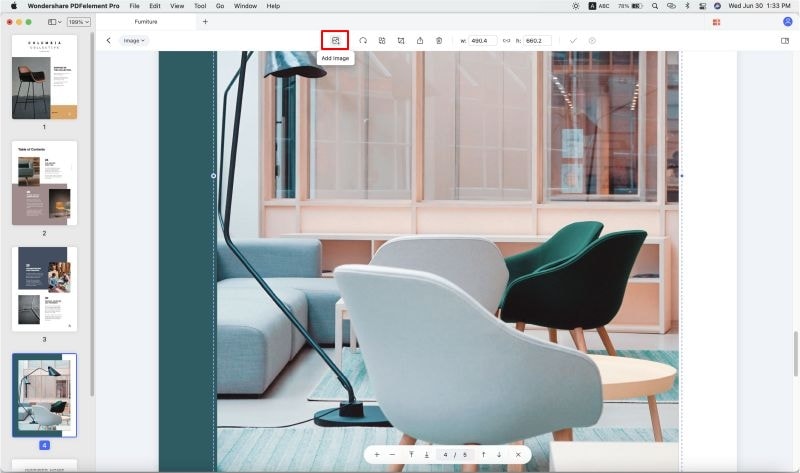
Before the PDF image compression, you can use this PDF editor to edit images in PDF files. To do so, you can open the "Edit" menu and click on the selected image. The image editing panel will be opened on the right side of the main interface. You can choose to rotate, flip, replace and crop images in PDF easily.

Step 4. Compress image in PDF
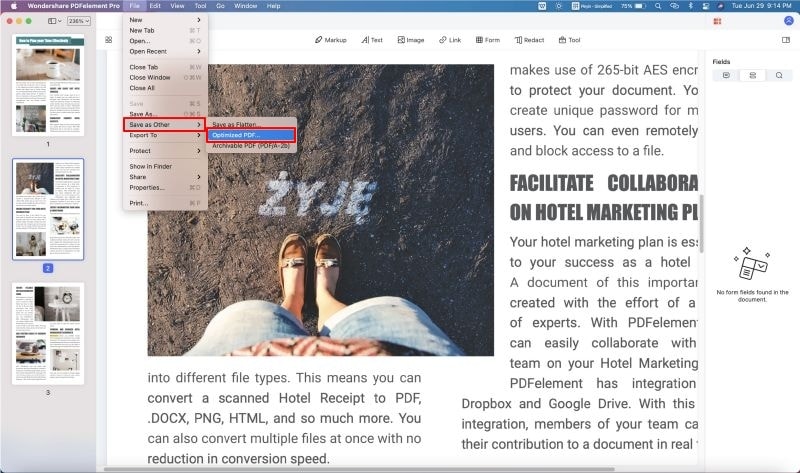
Now you can start the process of lossy and lossless image compression in PDF files. Go to the "File" tab. That will bring you to a new screen where you’ll find a drop-down menu that offers a variety of actions. The one you should focus on is the "Optimize" option after you've cicked on the "Save as Other...". Click that and the right-hand side of the screen will change and new options will be available.

There are a couple of default settings available as a point of reference. If you don’t want to have to deal with creating your own "Custom" compression settings, then you can choose one of the three settings that are provided. Each will result in differing sizes, so choose the one you believe is most applicable based on your needs. Then you can click on the "Save as" button to start the process of compressing images in PDF
- Web Ready (smaller file size) 150 dpi.
- Office ready (medium file size) 300 dpi.
- Print ready (larger file size) 600 dpi.

Why Choose PDFelement Pro for Mac to Compress Images in PDF
If you’re in need of a product that will compress files for you with ease, consider trying out the PDFelement Pro for Mac (or PDFelement Pro for Windows). It might seem a little scary to try such a foreign program, but I can guarantee that this is something you can use for a long time to come. Test out the free trial for yourself, this way you can explore the many options they have available.
Other features of PDFelement Pro
- Ability to compress images in various sizes without losing quality.
- Custom settings, like the ability to compress an image in whatever size you would like.
- Editing text, images, pages in a variety of ways.
- The ability to convert a PDF file to Word, Excel, PPT, Pages, EPUB, RTF, HTML, images, etc.


Ivan Cook
chief Editor