How to Insert Picture in PDF on Mac
Are you a Mac user and wondering how to edit a PDF on a Mac? Let’s suppose you need to add an image to PDF on Mac. PDF is a universal format for documents and you can use and work on it on Windows, macOS, Android, or iOS - and looks the same on any platform you open it. In this article, we will introduce PDFelement, a full-featured PDF editor for Mac, and will show you how to add images to PDF on Mac using PDFelement Pro.
How to Insert Picture in PDF on Mac
PDFelement editor is a power pack editing feature. Its interface design makes it much easier to navigate its robust tool set and makes it an ideal choice for Mac. Allows you to read, create, edit, organize, merge, split, duplicate, remove, delete, add an image, graphics, and annotation within your PDF.
Besides, you can convert PDF files into Word, PowerPoint, Excel, HTML, and image files. Furthermore, it enables you to add password security to a PDF and remove protection from a PDF.
Let’s see how you can insert a picture into a PDF file on Mac with PDFelement.
Step 1: Open a PDF
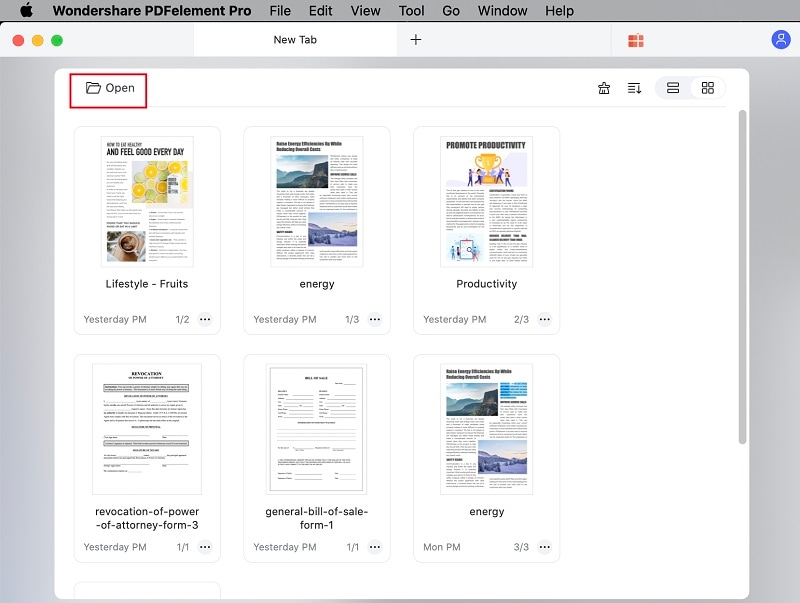
First download, install PDFelement on your Mac and launch a PDFelement on your Mac. To insert a Picture in PDF on Mac, open the PDF file on PDFelement by clicking on the “Open File link” from the bottom of the home page. The file directory window will open up, choose the desired PDF and click on “Open” the file will open on the PDFelement interface.

Step 2: Click “Image” on the Left Toolbar
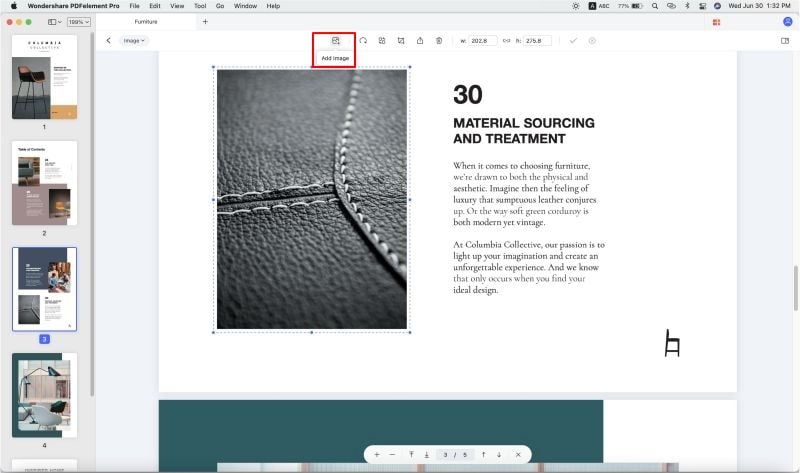
Now that the PDF file is open, click on the “Image” icon visible at the Left Toolbar. This will allow you to access image-adding tools.

Step 3: Click the Image Icon
After clicking on the Image icon, click on the “Add Image” icon from the Ribbon toolbar. This option will let you access the Mac folder and locations to find and select the desired picture.

Step 4: Insert Picture in PDF on Mac
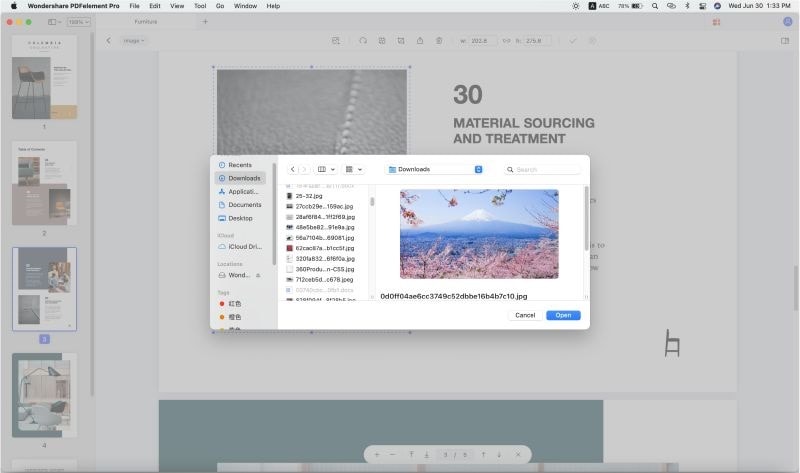
To insert Picture in PDF on Mac, select the needed image and then click on the “Open" button at the bottom. This inserts the image into the PDF file (you can select multiple pictures also). If you wish to resize or move the picture, drag the edge of the added picture. To save the changes click on “Save” from the file menu or click on the Save icon from Quick Access Toolbar.

The Best Tool to Inset Picture in Mac
As it is clear from the above section how seamlessly you can edit PDF on Mac with PDFelement. PDFelement for Mac offers a wide span of features to view, navigate, edit, modify, and extract PDFs quickly and easily.
Aside from that, there are other functions which you can try to enhance your PDF such as add comment, sticky notes, highlights, stamps, and links to your content. What's more, its conversion features enable you to convert PDFs to popular formats like text, Excel, Word, PPT, EPUB, and more.
Key features of PDFelement:
- A simplified user interface that makes it easy to edit PDF files.
- Merge, split, combine PDFs and add, delete or move pages within a document.
- Scan and edit documents with advanced OCR function.
- Quickly fill out PDF forms, add texts, and create PDF forms.
- Share PDF on Google Drive, Dropbox, and email.
- Has the ability to export PDF to Wondershare Cloud, Google Drive, Dropbox and local storage.
- Securely protects files with passwords, permission, redaction and allows you to sign PDF electronically.
How to Insert Picture in PDF on Mac
Preview app is default and in-build Mac application. All Macs come with a free Preview application already installed, which you can use to open and insert pictures.
Here is a quick step-by-step guide on how to insert a picture to PDF using the Mac Preview APP:
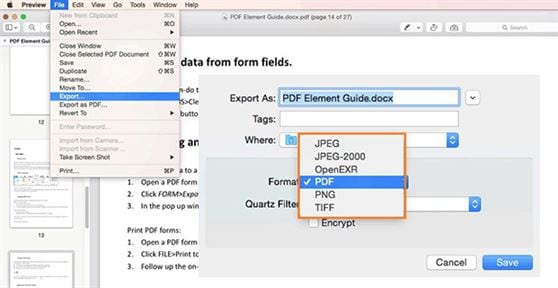
Step 1: Open the PDF on Preview app, go to the File menu and select Open to open and view a file on Preview or you can right-click on the PDF and click “Open With” from the pop-up menu and then click on the “Preview” option.
Step 2: Once the PDF file is open, to insert the picture to PDF, click on the Edit menu from top and select "Insert" option then choose the "Page from File" option. Select the picture of the choice file and add the picture to the PDF.
Step 3: Once the desired picture is inserted into the PDF. Click “File” from the menu and then click “Save” to save your changes.

To wrap up, we are very much sure that you are now well aware of how to add image into PDF on Mac with or without preview. And there are great chances that we would like to prefer PDFelement to solve all PDF edits that in-build preview app can’t do.


Ivan Cook
chief Editor