How to Add Shapes in Adobe Acrobat DC

If you are a newbie and want to add shapes using Adobe, perhaps you might find it a bit confusing. This is because Adobe Acrobat navigation is not that easy and can be confusing to amateurs. To avoid making costly mistakes on your document, you ought to find the right guide on how to add shapes in Adobe Acrobat DC. Fortunately, there is no need to go further because this article is here for you. In this guide, we will take you through step-by-step instructions on how to add shapes in Adobe Acrobat and its alternative - PDFelement.


How to Add Shapes in Adobe Acrobat
Adobe Acrobat is one of the best PDF solution tools used by droves of people across the globe. Its industry experience has made it design better tools for users and is a good option to add shapes to a PDF document. With Adobe Acrobat, you can add different types of shapes, edit, them and resize them according to your need. The supported shapes include oval, rectangle, arrow, line, cloud, and polygon. Although expensive subscriptions and lengthy processes drive away many people from Adobe, it is still worth using it if you have more money to spare. The following steps illustrate how to add shapes to the Adobe Acrobat program.
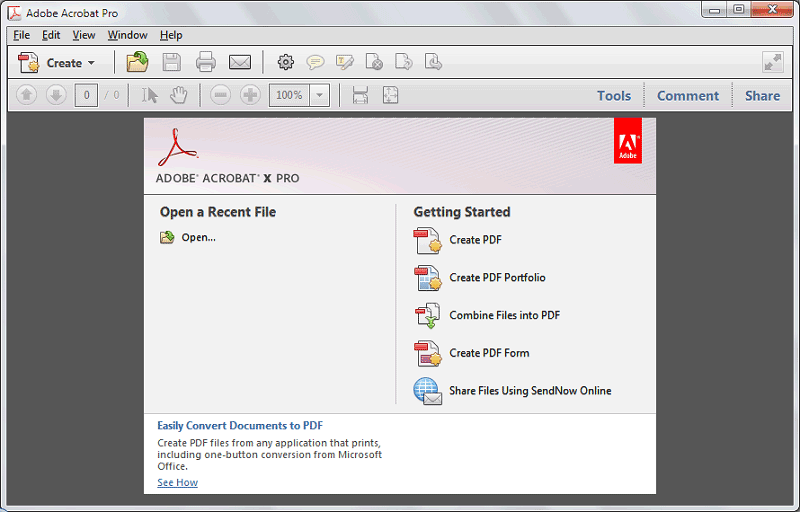
Step 1. Begin by opening your PDF file with Adobe Acrobat.
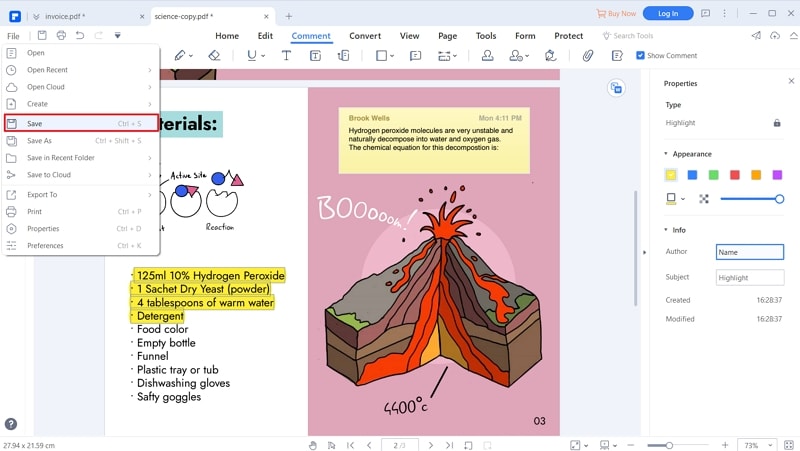
Step 2. When the PDF file is opened, proceed to the “Tools” section and then choose “Comment” from the Tools sub-menu.
Step 3. Now click the “Drawing Tools” icon and choose the drawing markup tool. Here, you can choose to add shapes such as rectangle, oval, arrow, and line. Besides, you can add shapes with multiple segments via the Cloud and Polygon tools.
To draw a polygon, simply click the starting point on the PDF then drag and click the next point in that manner until you finish creating the desired polygon. Remember you can edit and resize the shape until it fits your need.
How to Add Shapes in Adobe Acrobat Alternative
PDFelement Pro is a powerful PDF software that allows users also to add desired shapes to a PDF document. This program is easy to use, fast, affordable and is compatible with a variety of tools. With this tool, you can add desired shapes such as oval, rectangular, cloud, arrows, line, and polygon among others. Also, you can customize the shape properties to make them more eye-catchy. Besides adding shapes, you can do several other things to your PDF such as convert, edit, annotate, print, share, compress, organize, and perform OCR among others.
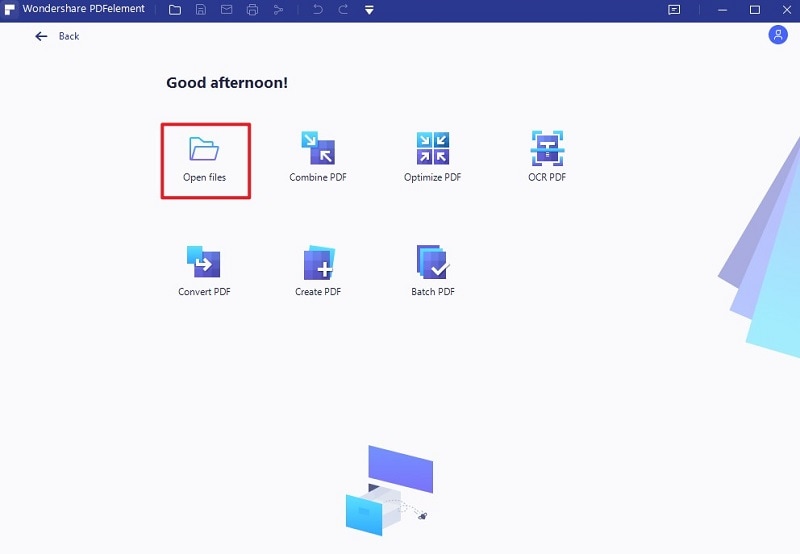
Step 1: Open PDFelement to Load a PDF Document
Run PDFelement on your device to access the primary window. Now click the “Open Files” icon and you will be taken to the file directory window. Here, browse for the target PDF file and hit “Open” to upload it to the PDFelement window.
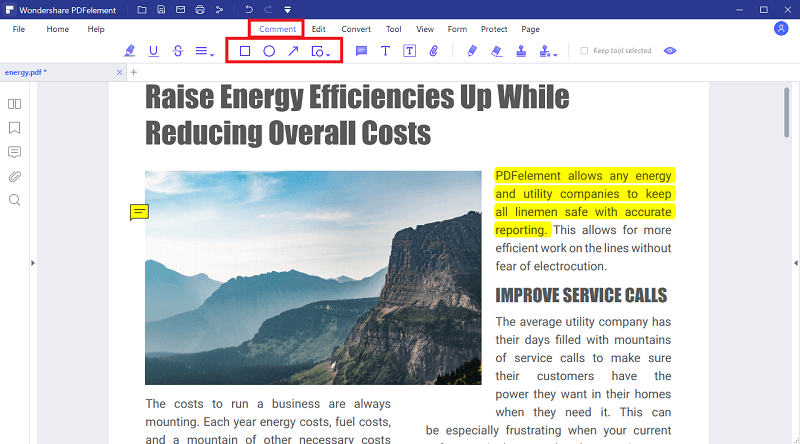
Step 2: Choose Shape Tool
When the PDF file is loaded, navigate to the toolbar and select the “Comment” tab. from the sub-menu, choose the shapes you want to add to your PDF file. You can choose the rectangle, oval, arrow, or cloud. Just select the desired shape and click anywhere on your PDF where you want the shape to appear. You should see that shape appear in the area you selected.
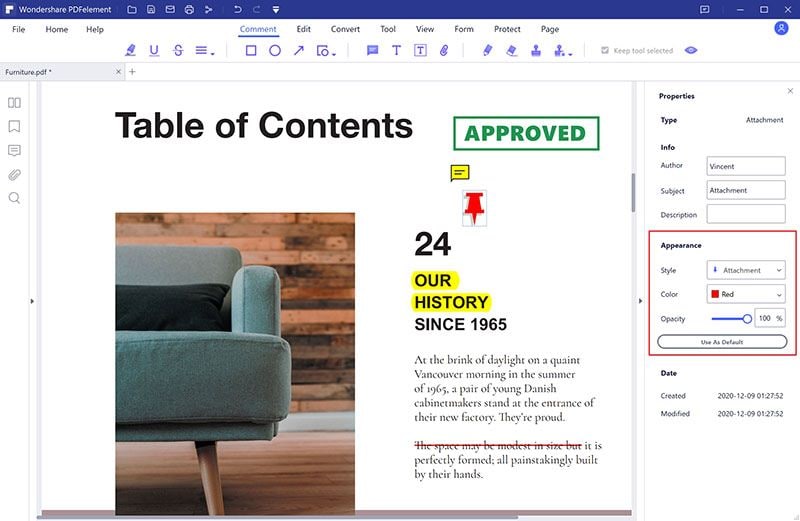
Step 3: Choose Shape Properties
To choose desired shape properties, you need to open the shape properties panel. To do so, right-click the shape and choose “Properties” from the right-click options. On the Properties pane, you can edit shape information and appearance. These include the author, subject, description, shape style, color, and opacity. To use the default settings, simply click “Set as Default".
Step 4: Save your PDF file
Once you have inserted all the shapes you wanted and have edited as per your need, what remains is to save the changes you have made to your document.


Ivan Cook
chief Editor