How to Convert PNG to Excel Easily
PNG files are common and they are often required to go through the conversion to be able to work on them. If you are thinking about PNG to Excel conversion, then you have come to the right place. We are going to tell you about the best convert PNG to Excel tool that you can download and also explain how to do the conversion using PDFelement Pro.
The Best Way to Convert PNG to Excel
Go through this step-by-step guide to know how to convert PNG to Excel in details:
Step 1: Download PDFelement Pro
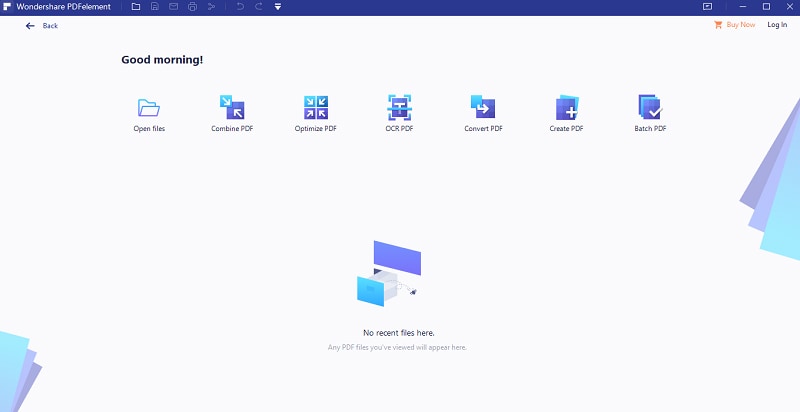
Download PDFelement Pro and install the program in your system. Once, done you can now double click on the icon and launch the software.

Step 2: Create a PDF file
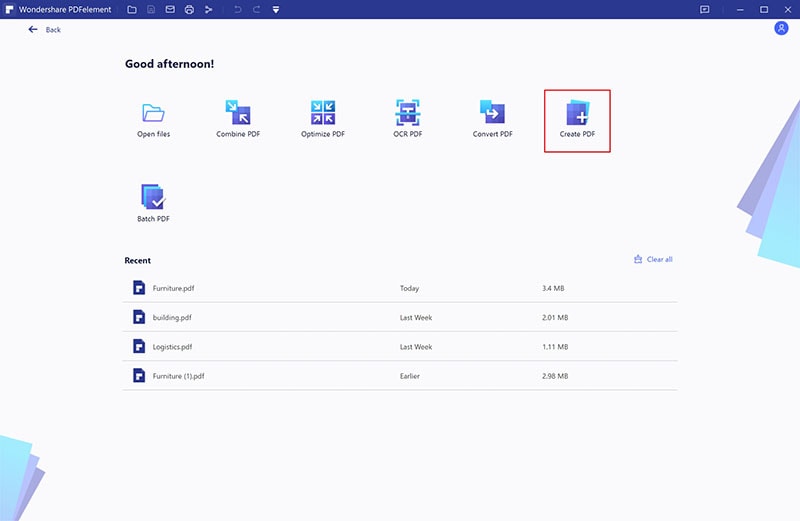
Click the 'Create PDF' option on the interface, then browser to open a .png file in your local folder.

Step 3: Perform OCR and select OCR setting
After the PNG file gets uploaded, click on 'Convert' and then select 'OCR', here you will get the option 'Editable text', choose that. Make sure that you are selecting the right language to perform OCR on the .png file.

Step 4: Edit PDF file (Optional)
You will get to edit the file option as well. Click on the 'Edit' you can edit everything that is required, add annotations or notes, put a signature, and more.

Step 5: Convert PNG to Excel
Finally, simply click on the 'Convert' tab. After that, you need to select 'To Excel', once done, your PNG file will get converted to Excel file.

When it comes to PNG to .xls conversion, PDFelement Pro is the best choice for you. It is an all-in-one PDF software and it comes with fantastic features, which will not just let you do the conversion, but you can also edit your document, add annotation and notes to the document, sign on forms, edit scanned documents by using OCR and finally protect it by setting up a password.
Here are some true highlights of this robust software:
- With the help of the OCR tool, you can work on scanned documents as well, which means you will get to edit even your scanned documents.
- You can add annotation, as well as notes on the documents while editing it.
- To keep your document protected, you can add passwords as well.


Ivan Cook
chief Editor