How to Convert PowerPoint to PDF on Mac (10.15 Catalina included)
• Filed to: Mac Tutorials
With today's fast-paced office processes and demanding workload, converting PowerPoint to PDF can be of great use. You enjoy a number of benefits when storing your documents in PDF format. First, you will be able to access them on many platforms, including Mac, Windows, Android and iOS. Second, your documents will be more secure. This format allows you to lock them with things such as digital signatures, permissions and passwords. Third, PDF format is email friendly. It allows you compress your documents and send them with much ease. Read on to learn how to convert PowerPoint to PDF Mac.
The Best PowerPoint to PDF Converter
PDFelement Pro for Windows - The Best PPT to PDF Converter
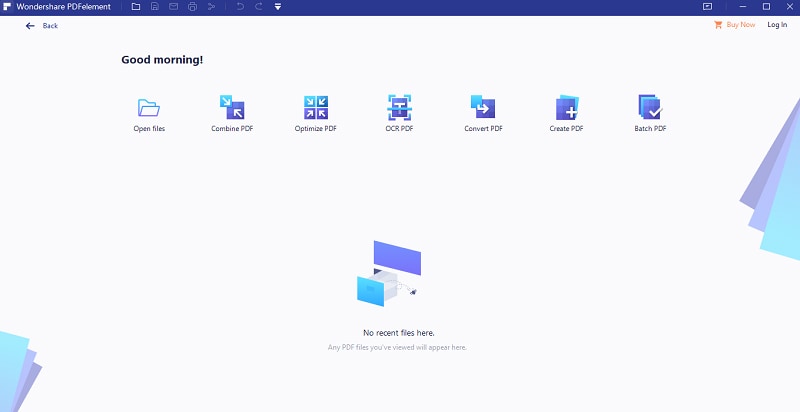
To save PowerPoint presentations as PDF files, you can use PDFelement Pro to do the conversion. With the help of this smart tool, you can convert PPT documents to PDF files and convert PDF files to Word, Excel, EPUB and other file formats. The quality is maintained, and you can add as many pages you want.
Key Features of This PowerPoint to PDF Creator:
- Creates high quality PDF documents without changing the original file formatting.
- Can create PDF from a lot of PPT documents or large files.
- Has a less complicated and intuitive interface that allows you to make professional files.
- Keeps your files private and makes them easy to transfer.
- Edit and convert scanned PDF file with advanced OCR tool.

How to Convert PowerPoint to PDF on Mac (10.15 Catalina included)
According to my own experience, the best tool to convert PowerPoint to PDF Mac is PDFelement Pro. I had tried many PPT to PDF programs before I came across this helpful software. It comes with a myriad of outstanding features that make the whole conversion process quite easy & enjoyable, and you don't have to pre-install PPT software to use it on your Mac. If your everyday tasks involve dealing with a lot of PDF documents, you can find this program very helpful. It can perform batch conversion.
The tool is easy to use. You simply need to import a folder containing your PPT files to the program and create PDF files. The software doesn't alter the original formatting of the files during the conversion process and gives the files the privacy they require. Another great thing about the tool is that the created PDF files can work in any PDF reader, converter or editor. The files also have high resolution and comply with ISO PDF standards.
Steps to Convert PowerPoint to PDF Files on Mac 10.15 Catalina
Step 1. Download the PowerPoint to PDF Converter for Mac
First download iSkysoft PDF Creator for Mac. Once you find the program, click on the download button to have the installation file on your machine. To install the software, drag it to the "Application folder". After the installation process is completed, click on the application icon to launch the program.

Step 2. Import PowerPoint Documents
You can import your PPT files to the program in three ways. One of the ways involves dragging and dropping your files directly to the application's interface. Another way is to click on the "Add Files" button which is found at the screen's top right corner. The last way involves clicking on the "Add Folder" button which is found at the interface's top right corner. Remember, you will be required to open the files from your Mac in order to upload them if you decide to use the last two methods.

Step 3. Start Converting PowerPoint to PDF Mac
Once you have the PPT files on the program, click on the "Create" button which is located at the interface's bottom right corner. You will be prompted to set a destination folder. After setting this folder, which is where the PDF files will be saved, click on the "Save" button to initiate the conversion process.


Ivan Cook
chief Editor