How to OCR a Scanned PDF Document Using Google Docs
Google Docs, or Google Drive, does everything to avoid people using paper, and especially wasting paper. Probably you are already familiar with its collaborative documents, presentations, spreadsheets, and many others, but did you know that Google Docs can OCR files?
OCR (Optical Character Recognition) is one of the most important features for those who want to stop using papers. It allows users to scan documents and to digitize them, transforming everything into editable texts. In this article, I will show you how to perform Google Docs OCR.
- Part 1. The Best Solution to OCR PDF Files
- Part 2. Steps for Using Google Docs to OCR Image-Based PDF
Part 1. How to OCR PDF without Google Docs
PDFelement Pro - The Best OCR Tool for PDF Files
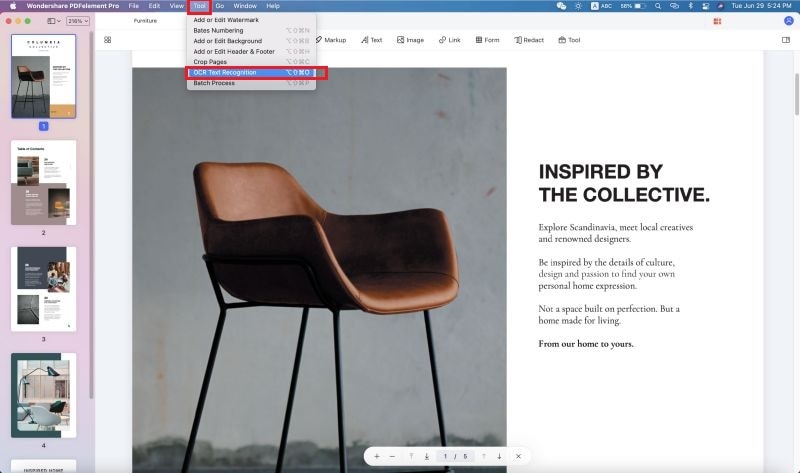
If you need a more powerful and professional PDF OCR tool, we recommend you to use PDFelement Pro. It comes with advanced OCR feature allowing you to edit and convert scanned PDF with ease.
Why Choose This OCR PDF Tool:
- Support multiple OCR languages.
- Extract data from scanned PDF.
- Easily edit PDF texts, images, and more.
- Convert PDF to Word, Images, PPT, Excel, etc.
- Watermark PDF and add password to PDF for security.
Part 2. Step-by-Step Guide on How to OCR in Google Docs
Let's see how Google OCR works, and how you can convert PDF files to editable texts with it.
Step 1. Scan the Documents
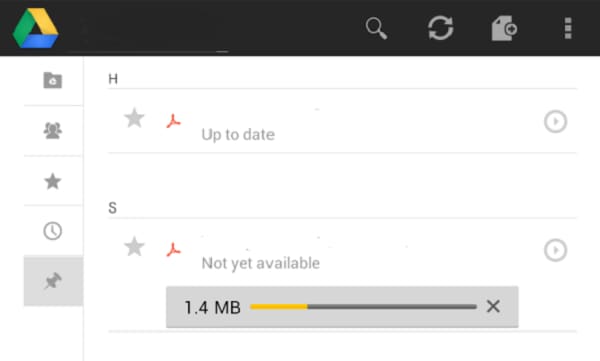
Everything starts with the scan of the documents. It is the most important part of the OCR process. Currently, Google Docs support OCR for PDF files, but also for .jpeg, .png, and .gif, but all the files should have less than 2MB in size. Keep in mind that if you want to convert multiple files, it is recommended to use the PDF format, since it allows you to upload all the pages in one batch. But Google Docs also has a limitation, and it will extract the text only from the first ten pages of your PDF file.
Step 2. Prepare the PDF Files
There are some simple rules that will help you achieve the best results from OCR in Google Docs. The first thing is to make sure the file you upload is in high resolution, and it is light enough, with a clear contrast. Additionally, you can check if the scanned text is placed horizontal, and if it is readable from the left to the right. Also if you have standard fonts, like Times New Roman or Helvetica, you will notice better results. If your document is not readable, you can still try OCR, but probably you won’t obtain accurate results.
Google Drive support OCR in many languages from all around the world, but the OCR for languages that use non-Latin characters is still buggy, so do not expect perfect results.
Step 3. Get the Files
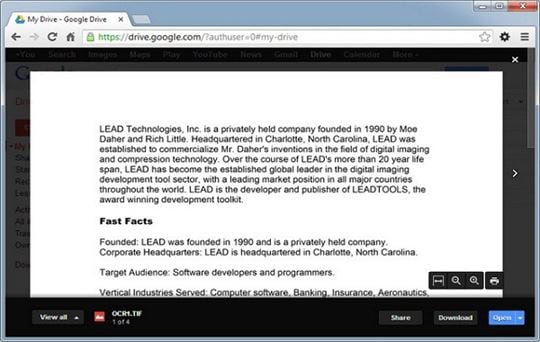
If you already have the files, make sure they are in the right format, supported by Google Docs. If you have only the physical documents, start scanning them to your computer. If you don’t have a scanner, you can also take photos of them with your phone; it works pretty well.
A tip for you is to use Scanner Pro, because it has an in-app support for Google Docs. Unfortunately, Google Docs does not support OCR for any file uploaded directly from the app, so you still need to upload them as PDF or images.

Step 4. Upload Files to Google Docs
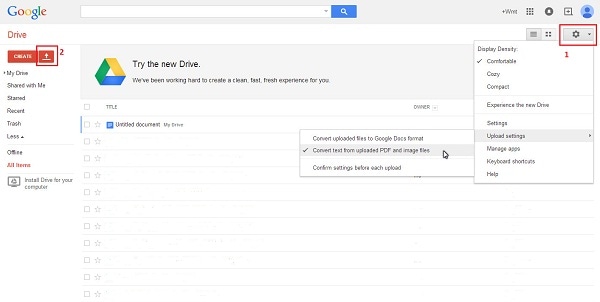
Adding documents to Google Docs in order to get them OCRed is pretty easy, but you need to use your Google Drive account. Simply go to "My Drive", click on "Settings", and under the "Upload Setting", make sure you check off the "Convert text from uploaded PDF and image files". Check also the Confirm setting before each upload and mark it off.
Now click the "Upload" button, select the files you need, and click "Open". Select the language of the document, and confirm it. Click "Start Upload". Once the document is uploaded, you will see two versions of it: the original one and the text extracted from the document. Google Docs do not retain the original format, so you will have to edit it manually!


Ivan Cook
chief Editor