In this article, you get the ultimate guide on turning Excel into PDF with ease.
Four Methods to Easily Turn Excel to PDF
The ease of working with PDF files is not a secret. Many people convert their documents to PDF formats for ease of reading, editing, and sharing. One common conversion is the changing of Excel to PDF. Excel files can be daunting to work with, and it is no coincidence that many people are looking to change Excel to PDF. While this may look like a seamless task, it is far from easy. However, the process becomes easier with the right tool. This article takes you through the best way to change Excel to PDF.
Method 1. How to Turn Excel to PDF Using PDFelement Plugin
In this method, we go through a step-by-step guide on how to turn Excel to PDF using the PDFelement plugin. When you download PDFelement into your computer, it comes alongside a plugin for Microsoft Office. Therefore, you should see the PDFelement icon on your Microsoft Excel menu. If you want to turn an Excel to PDF using the PDFelement plugin, make sure PDFelement is installed on your computer. The remaining steps are easy to follow, as explained below.
Step 1. If you have installed PDFelement, open your target Excel file on Microsoft Excel.
Step 2. On the menu bar, locate and click the “PDFelement.” This option is often on the top-right of the window.
Step 3. From the options displayed below it, select the “Create PDF” option on the far left. Upon clicking, you will be taken to the “Save As” output window. Here, you are required to provide the destination folder and the file name for your new PDF file. Choose the desired output folder, the file name (not mandatory), and click “Save.”
Step 4. The program will pop up in the PDFelement add-in dialog box. Choose whether you want to convert the entire workbook, sheet, or selection. Once you are done with the selection, click “Convert to PDF.” The Excel to PDF conversion will begin immediately. Go to the output folder and check your new PDF file when it is done.

Method 2. How to Turn Excel to PDF on Excel Directly
This method looks at how we can turn Excel to PDF by simply saving your Excel file as a PDF. Here, you simply choose PDF as your output format, and your Excel is converted to PDF. This process is simple and does not require a special program. You do it entirely on Microsoft Excel. To change Excel to PDF using this method, follow the steps below.
Step 1. Go to the folder that houses your Excel file. Here, choose your PDF file and open it with Microsoft Excel.
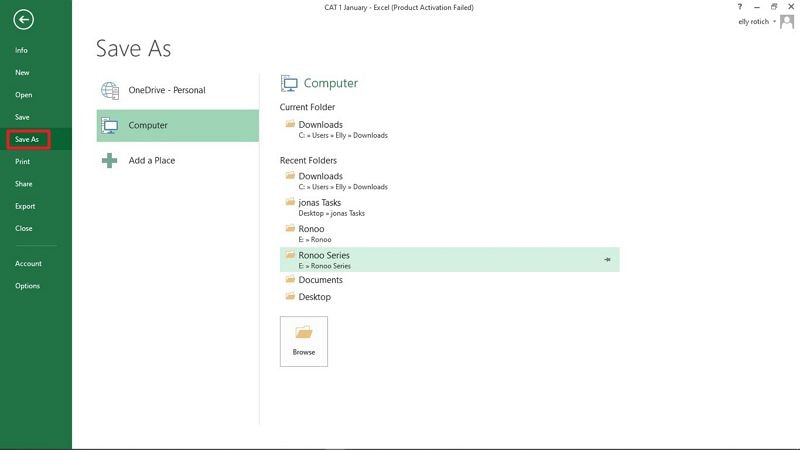
Step 2. With the Excel file now open, you need to save it as a PDF file. Simply go to the “File” section, then choose the “Save As” option.
Step 3. Now, the “Save As” output window will be displayed. Choose the destination folder and give your new file a name on this window. However, it is not mandatory because the file will be assigned a default name and location. When you are satisfied with your selection, click the “Save As” drop-down arrow and choose “PDF” as your output format. Finally, click “Save” to turn Excel to PDF.

Method 3. Turn Excel to PDF with Virtual Print
In this method, we turn Excel to PDF using the “Print” option in Excel. Here, we use Wondershare PDFelement as our printer. The process is simple, and it is just like any printing task. The following steps illustrate how to turn Excel to PDF with PDFelement as a printer.
Step 1. Open your Excel file with Microsoft Excel.
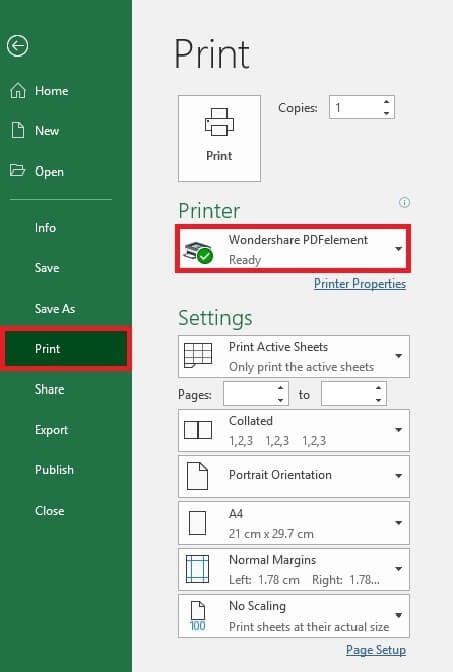
Step 2. When the file is loaded, go to the “File” section and choose “Print.”
Step 3. Click the “Printer” drop-down icon in the print menu and scroll down the available printers. From the list, choose Wondershare PDFelement as your printer.
Step 4. Hit “Print,” and the program will start to change Excel to PDF. Monitor the process in the background. When the process is complete, your Excel file is displayed as PDF on PDFelement. Finally, you need to save your new PDF file. Simply navigate to the “File” menu, then choose “Save.”

Method 4. Turn Excel to PDF with PDFelement
PDFelement Pro is a powerful PDF tool used for nearly all PDF tasks. This program is enriched with a collection of excellent features that make your work more presentable and appealing. With PDFelement, users can convert, create, edit, annotate, organize, print, compress, protect, perform OCR, and share PDF files. PDFelement supports many file formats, including the latest and hot formats. If you have multiple files, you can convert them simultaneously with PDFelement. The good thing with PDFelement is that it has a free trial version.
Step 1 Open Excel File in PDFelement
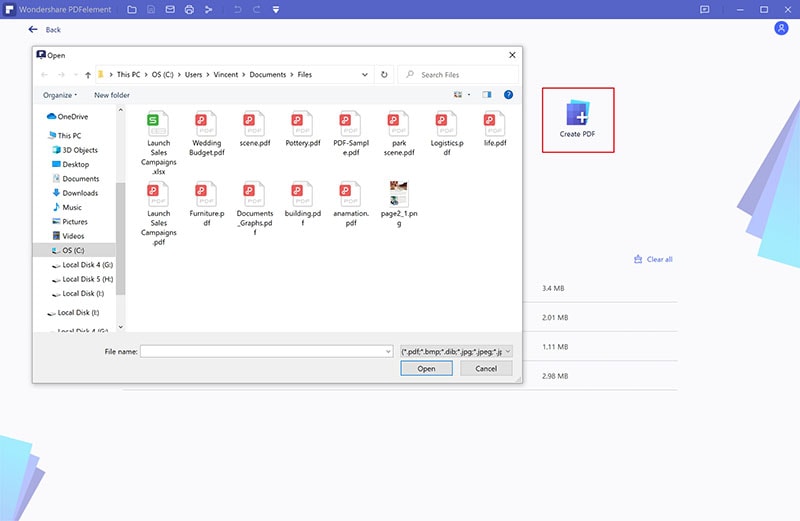
Start by running PDFelement on your computer to access the main interface. Now, click the “Create PDF” button, and the program will take you to the file explorer window. Choose the Excel file you want to convert to PDF, then click “Open.”

Step 2 Convert Excel File to PDF File
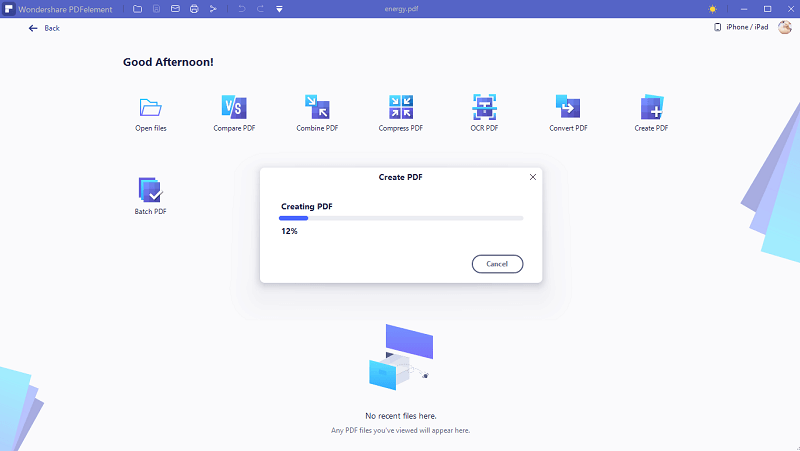
Now, PDFelement will immediately start to convert your Excel file to PDF. Wait for the program to complete the process. When the conversion is completed, PDFelement will display the file on its interface. At this point, you need to save the file. Go to the “File” section, then choose “Save” from the options displayed.


