
If you want to make your documents readable and professional, proper alignment is the simplest and most impactful way. Whether you're creating a business report or a resume, understanding alignment in Microsoft Word is a fundamental skill.
This guide will walk you through everything you need to know about alignment, how to use its powerful tools, and why it plays a crucial role in formatting. By the end of this blog, you’ll know how to align text, images, and objects in MS Word, making your documents polished and visually organized.
In this article
What is Alignment in MS Word?
With the help of alignments, you can position your text or objects according to the document's margins. Relating to text, it specifies whether the content lines up with one or both margins, centered on the page, or spread evenly.
Proper alignment contributes to clarity, visual appeal, and the overall flow of your content. Additionally, sloppy or inconsistent alignment can make even the best-written content appear unprofessional and distract from the message you are trying to convey. There are 4 main types of alignment in MS Word, each suitable for different contexts, which we’ll explore in the next section.
Types of Alignment in MS Word
1. Left Alignment
This is the default alignment setting in Microsoft Word to provide an easy-to-read format. When you use left alignment, the text lines up evenly with the left margin, while the right margin remains irregular. It’s commonly used for most written documents, including essays and articles.
How it looks:
The quick brown fox jumps
over the lazy dog.
2. Center Alignment
Center alignment is a text formatting style that specifies text position between left and right alignment to create a balanced and symmetric appearance. This type of alignment is usually used to write specific content to draw attention, like titles or headings that create a visually appealing and formal look.
How it looks:
The quick brown
fox jumps over the
lazy dog.
3. Right Alignment
Right-aligned text lines up with the right margin, leaving the left margin uneven to create a distinct visual effect. It’s best suited for certain document elements like captions and attributions or when formatting languages that write from right to left.
How it looks:
The quick brown fox
jumps over the lazy
dog.
4. Justify Alignment
Justified text creates even margins on both sides by adding subtle spaces between words that provide a professional and clean look. It’s often used in newspapers, magazines, and books for a neater block of text. Readers find this alignment easy on the eyes for large chunks of content.
How it looks:
The quick brown fox jumps
over the lazy dog.
How to Align Text in MS Word
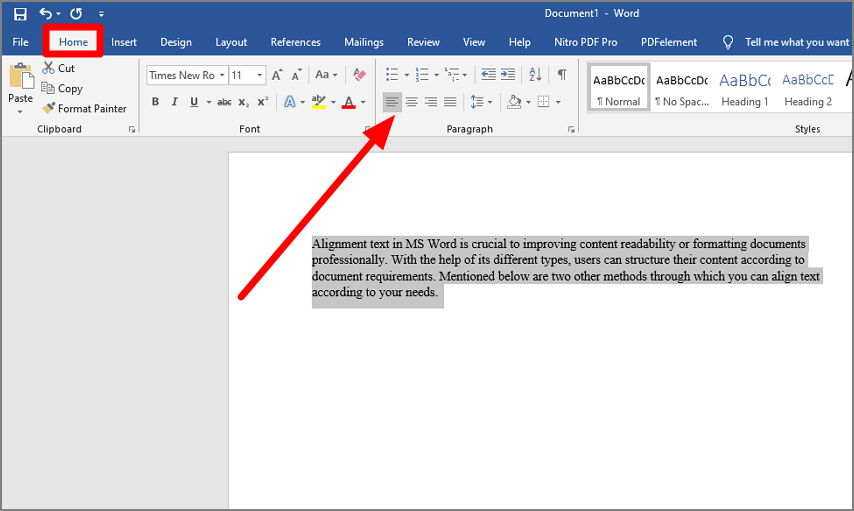
Alignment text in MS Word is crucial to improving content readability or formatting documents professionally. With the help of its different types, users can structure their content according to document requirements. Mentioned below are 2 other methods through which you can align text according to your needs.
1. Using the Ribbon
Instructions: First, select the text you want to align and go to the home page to click on the "Home" tab at the top of the ribbon page. Next, choose the alignment from the "Paragraph" group by pressing the alignments button (Left, Right, Center, or Justify) per your needs.
2. Using Keyboard Shortcuts
Instructions: Use shortcuts for instant alignment of your documents. Next, for Left Align, hit "Ctrl + L"; for Center Align, enter "Ctrl + E"; for Right Align, press "Ctrl + R"; and get Justify Align using "Ctrl + J." Whether you're writing one sentence or formatting entire paragraphs, these methods ensure precise alignment.
Aligning Objects in MS Word
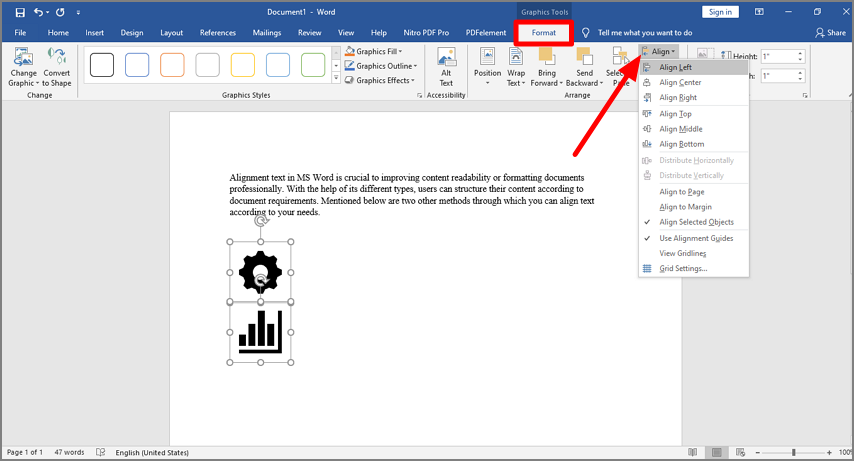
Alignment in MS Word isn’t just for text, it can apply to images, shapes, tables, and other objects. Here’s how to ensure your non-text elements are perfectly aligned and distributed.
Aligning Images, Shapes, and Other Objects
Instructions: Select your object to click on the image, then go to the "Format" tab that will automatically open after selecting the object. Next, click on “Align” under Arrange Group to choose your preferred alignment options like “Align Left” or “Align Right.”
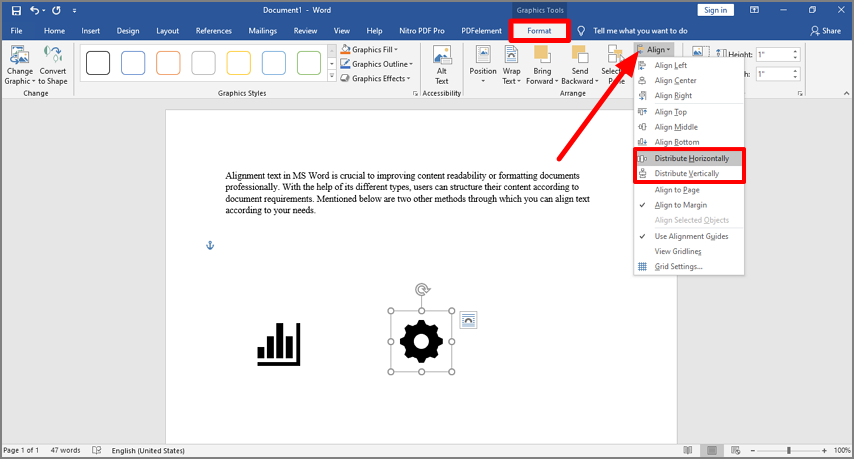
Distributing Objects Evenly
Instructions: Choose multiple square images and hold CTRL while clicking to select each object. After that, move to the “Format” tab that appears right after the image selection and click on “Align” to choose options “Distribute Horizontally” or “Distribute Vertically” to space them equally.
The Importance of Alignment in Document Formatting
Alignment is not only for the good appearance of the documents; users can use it as an essential element for effective communication. It helps in document formatting to make it text well-structured, easy to read, and visually appealing. Aligning elements in Microsoft Word offers several benefits, including:
- Enhance Readability: Alignment ensures that the text flows smoothly and is organized logically to make it easy for readers to follow the content.
- Focused Attention: With the help of proper alignment, the reader is directed toward headlines, key points, and significant sections of the documentary that improve overall comprehension.
- Improve Visual Look: Clear alignments ensure an appealing layout, making the document visually engaging and professional look.
- Consistency: Aligning elements helps maintain consistency throughout the documents and ensures that design and format remain uniform.
By mastering alignment, you position yourself as a writer or professional who pays attention to detail for a skill valued across industries.
How to Align in PDF Documents
Aligning objects, text, and images in PDF documents is essential for creating polished and professional files. Whether you're designing a report, presentation, or any other document, proper alignment ensures clarity and visual appeal. However, editing PDFs can be challenging without the right tools.
We will walk you through the process of aligning elements in PDFs using Wondershare PDFelement, a powerful and user-friendly PDF editor. With its advanced features, you can effortlessly reposition objects, ensure consistency, and achieve a well-structured layout.
Why PDF is a Preferred Format
PDF is a widely used format for securely transferring text and critical data. Its high readability and free accessibility for readers make it a popular choice. However, editing PDFs requires specialized tools to ensure optimal results. Despite this, PDFs are easy to view and highly recommended for their versatility, including the ability to use hyperlinks, much like in Word documents.
Wondershare PDFelement - The Ultimate PDF Editor
Wondershare PDFelement is a top-rated program designed for seamless PDF manipulation. Packed with hundreds of features, it simplifies complex tasks while delivering exceptional results. Its user-friendly interface and powerful editing capabilities make it a standout choice for professionals. Below is a step-by-step guide to using PDFelement effectively.
Key Features of PDFelement:
- Open, save, print, and annotate PDFs effortlessly.
- Protect sensitive data with password encryption.
- Digitally approve and sign documents.
- Perform OCR (Optical Character Recognition) on partial or user-defined fields.
- Extract text from images using advanced OCR technology.
How to Align Objects in PDF Documents
Step 1: Load the PDF File
After downloading and installing PDFelement, open the program and load the PDF file you wish to edit.

Step 2: Align Objects in the PDF
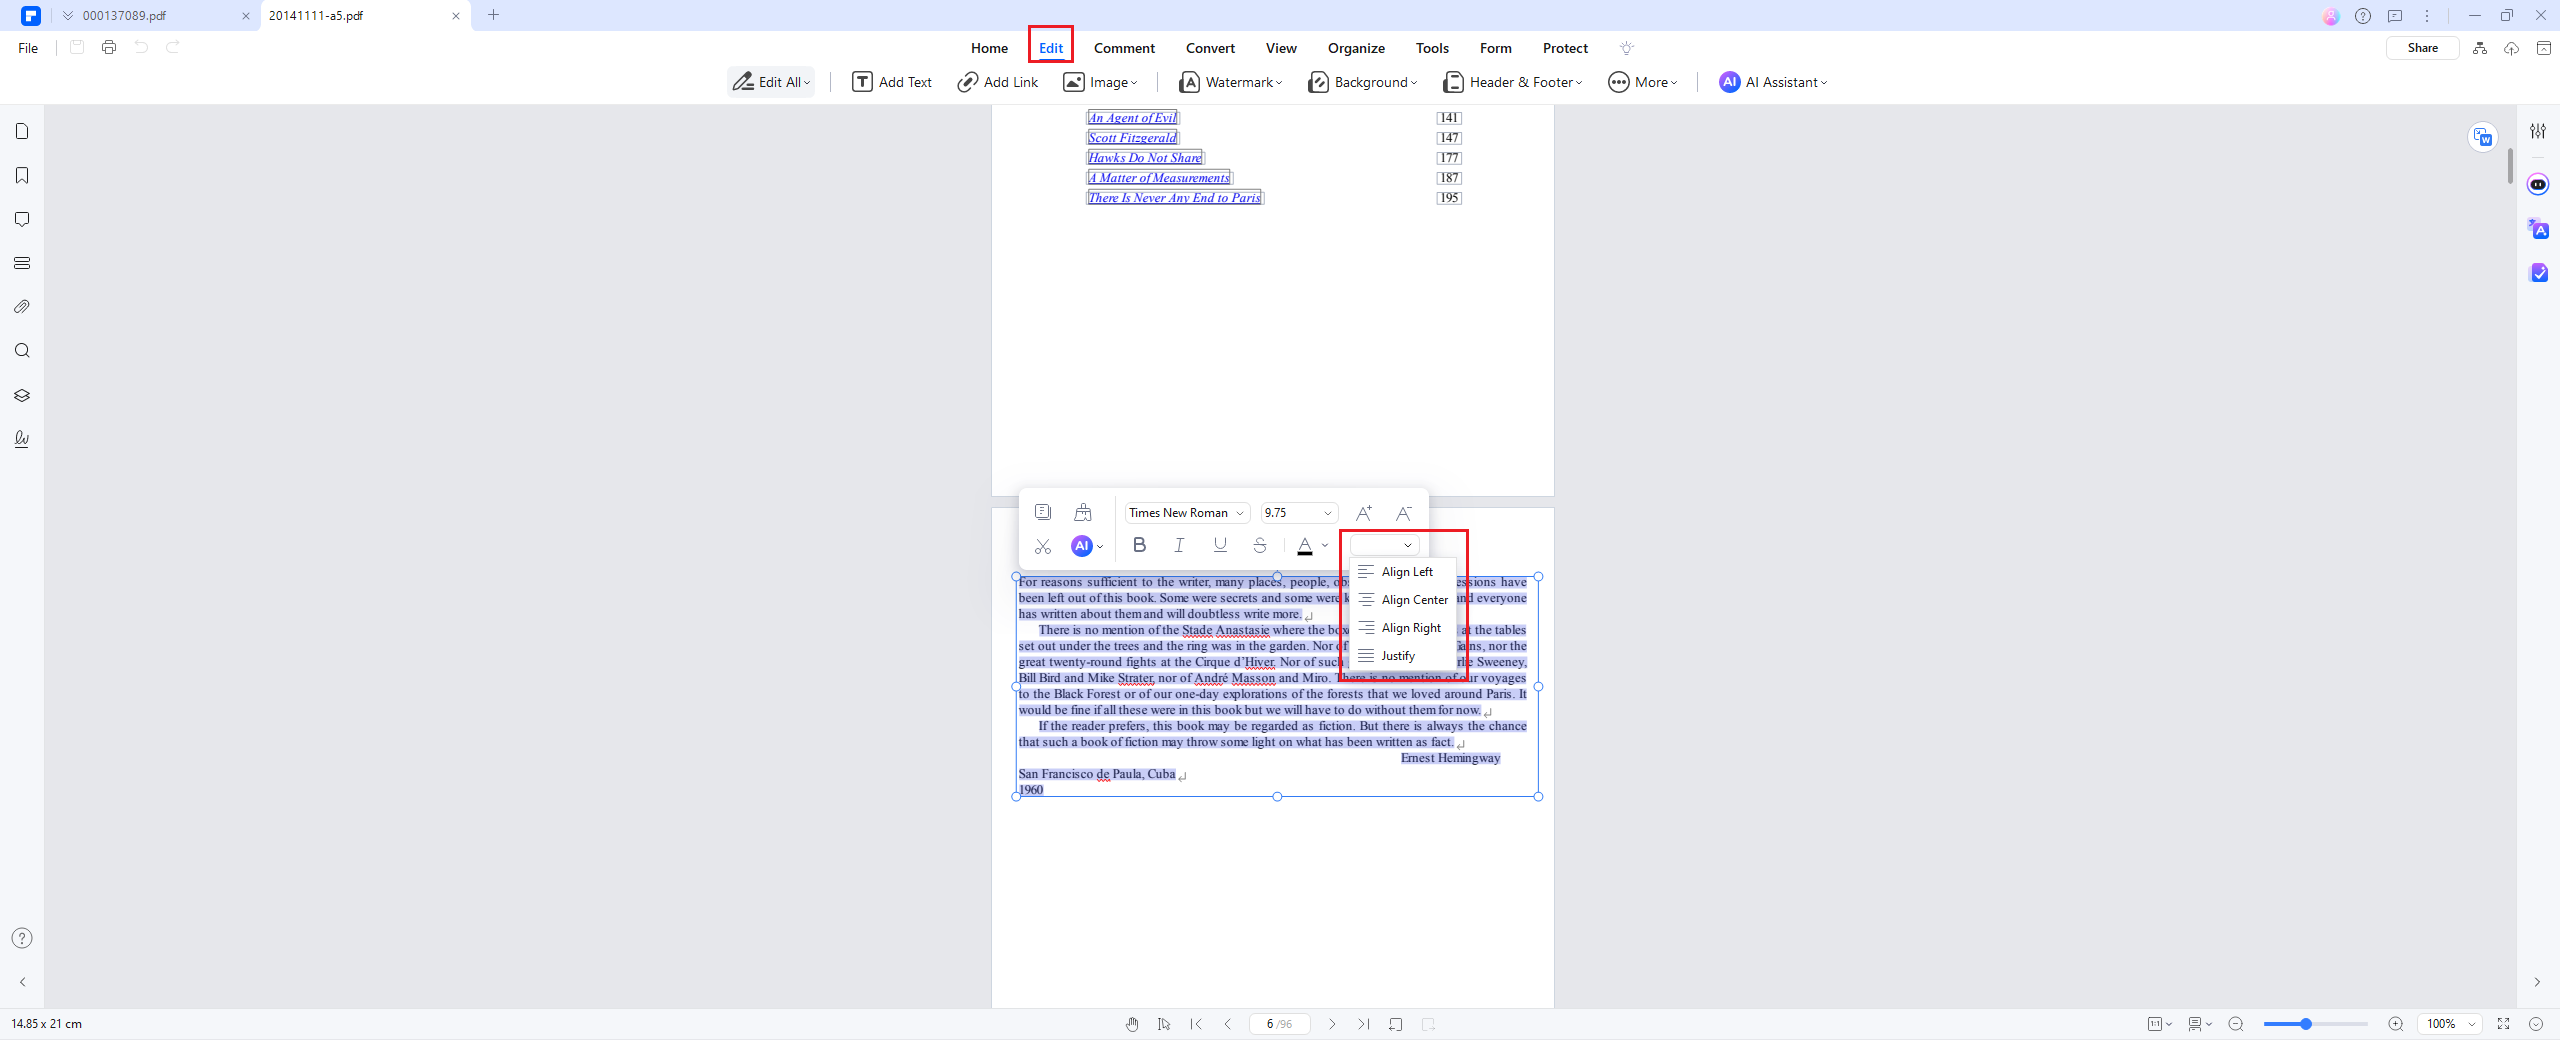
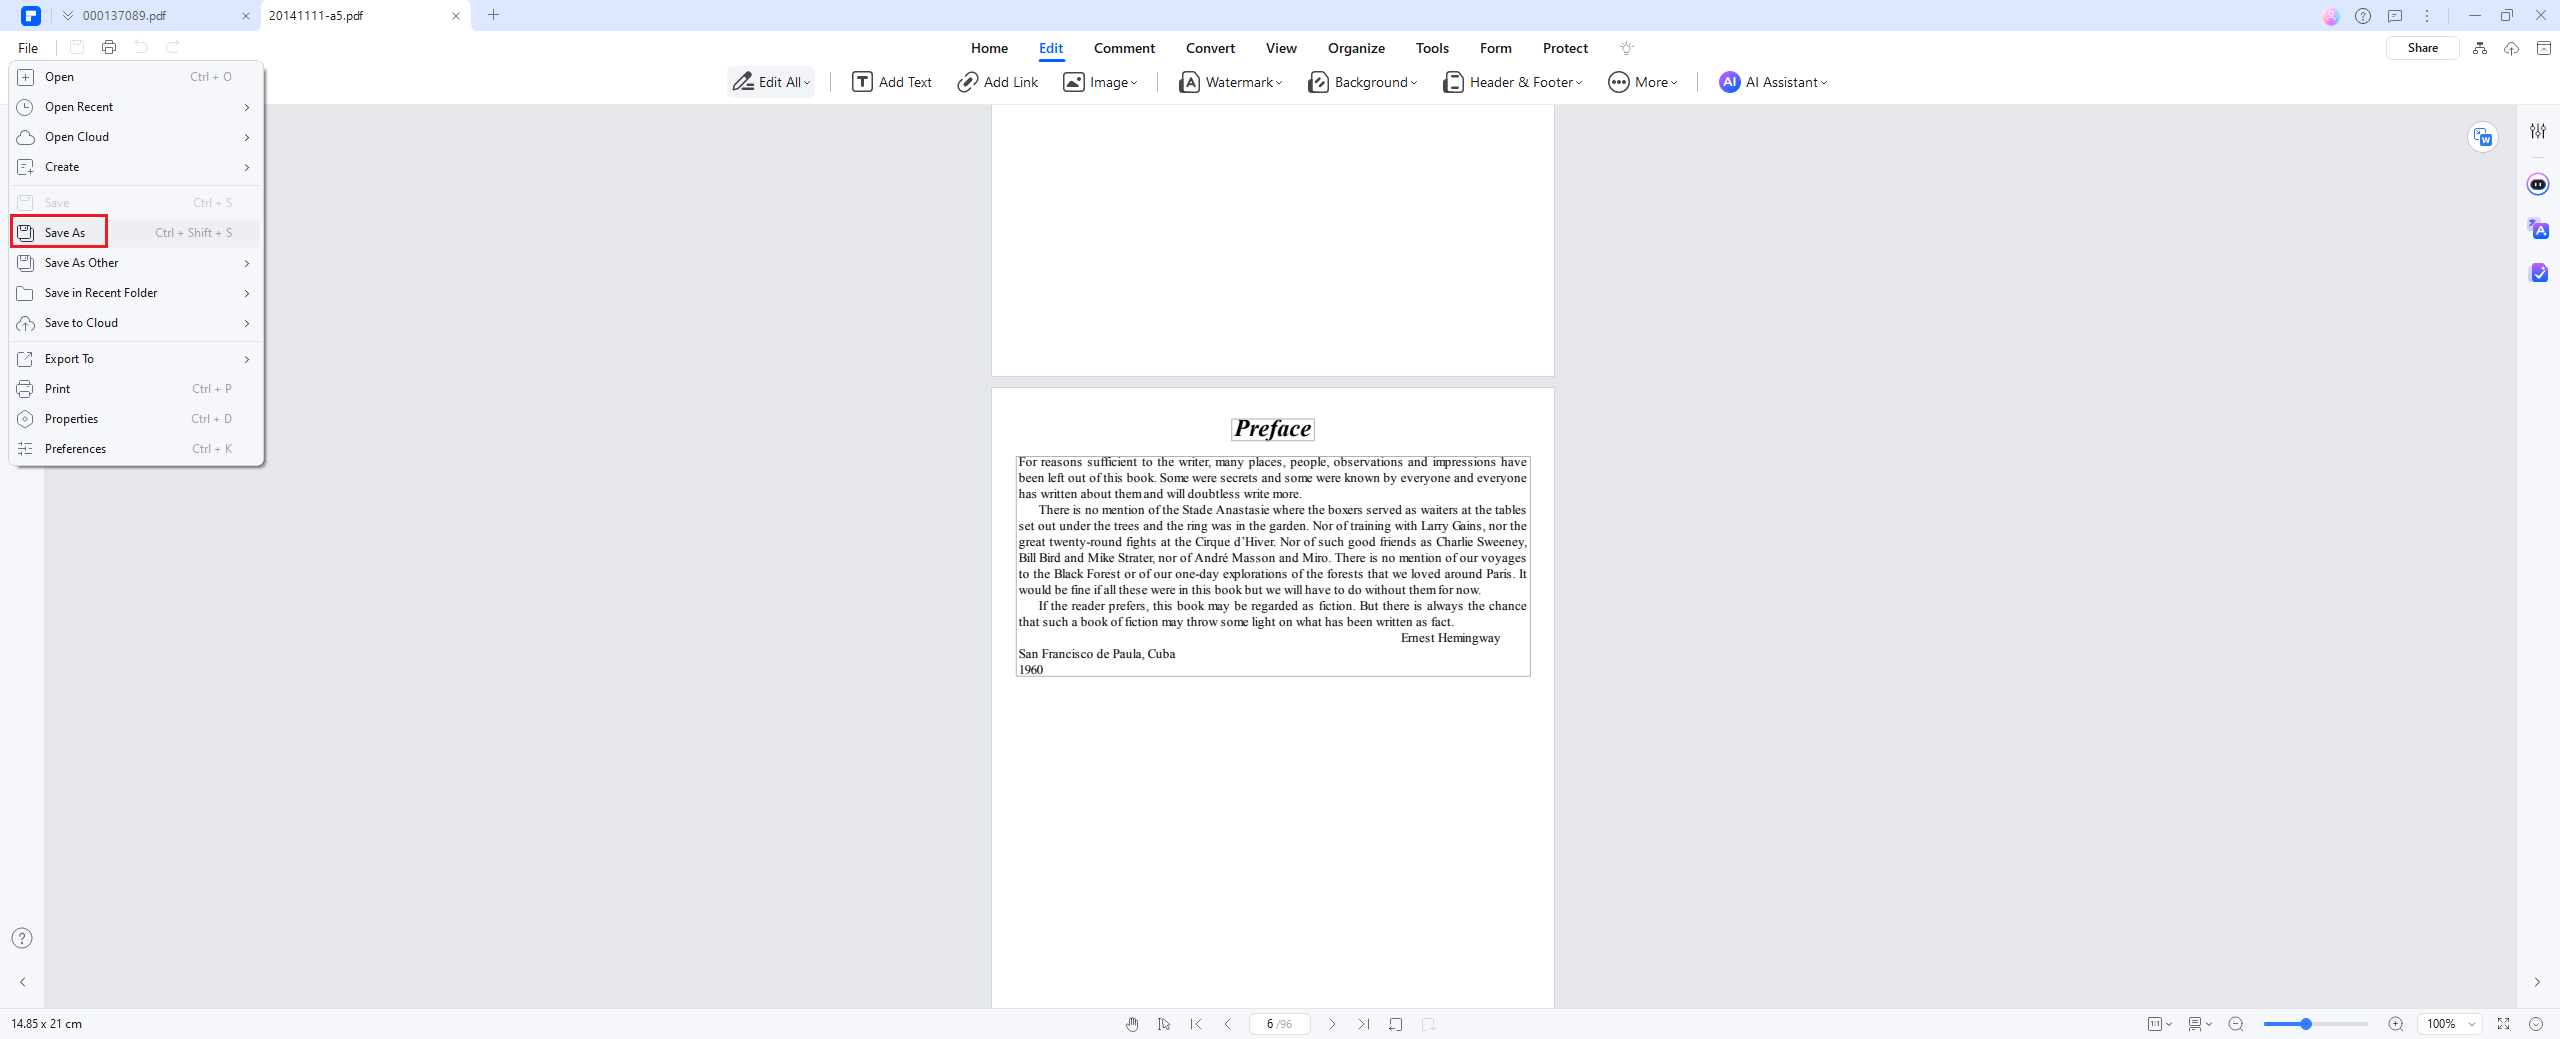
Click the "Edit" button located at the top left corner. Select images, frames, or other objects to align or reposition them. To align multiple objects simultaneously, hold down the CTRL key while selecting them. Refer to the screenshot below for visual guidance.
Step 3: Save Your Changes
Once the alignment adjustments are complete, save the file. Navigate to "File > Save As > Browse" to store the updated PDF in your desired location.
Conclusion
Microsoft Word has made aligning documents easier for beginners or experienced professionals. Using these techniques, you can create documents tailored for clarity and professionalism. If you want more enhanced document formatting explore advanced tools like PDFelement for seamless editing across file types like PDFs.

